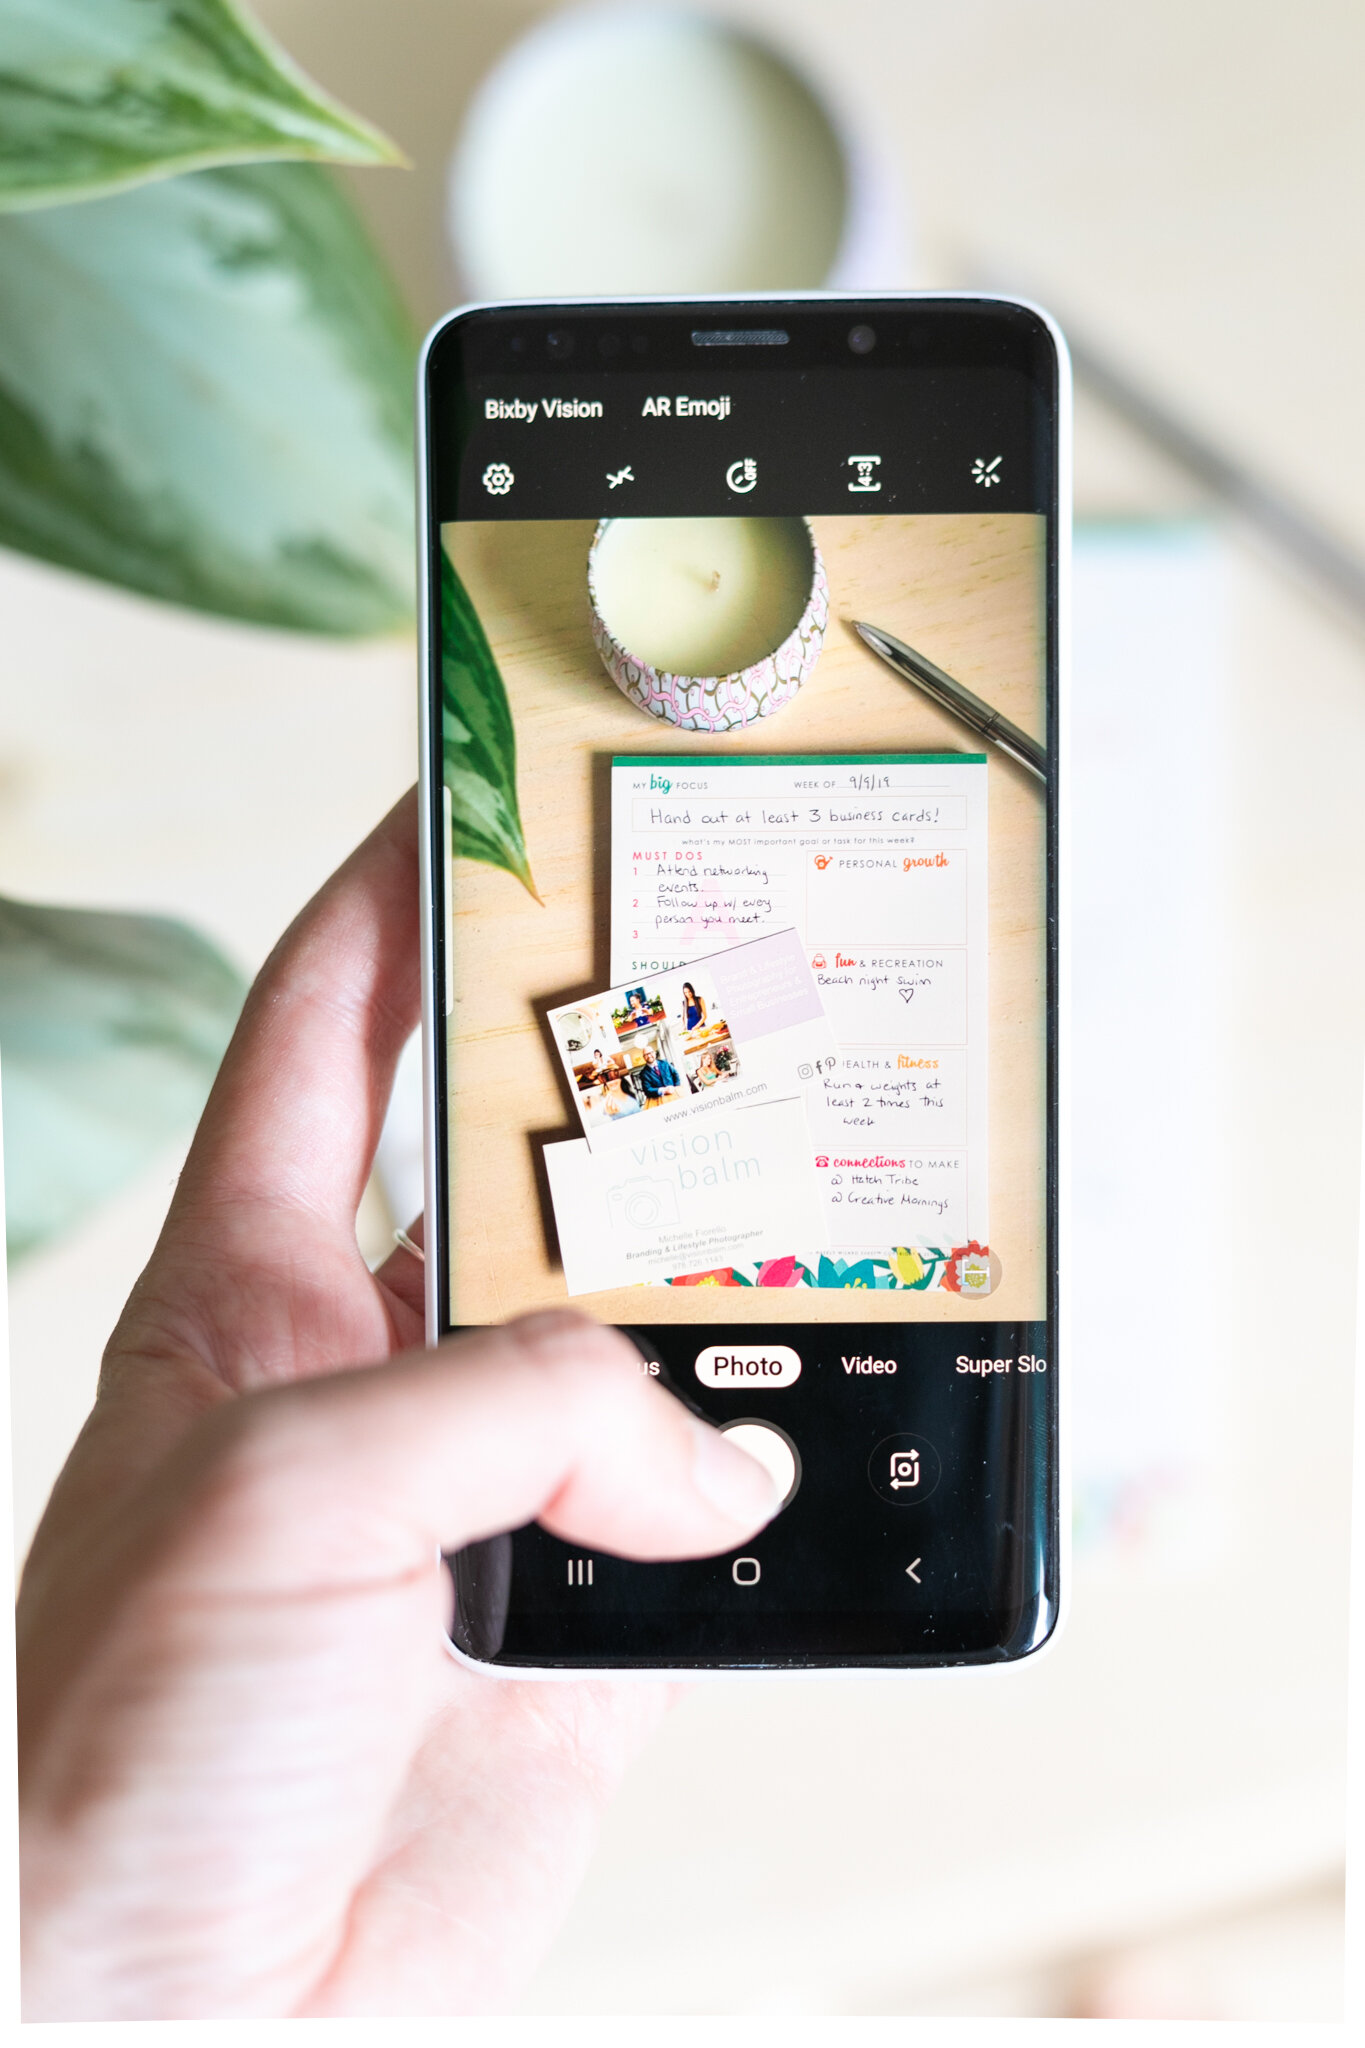
How to Create Professional Product Images for Your Website With Your Cell Phone Camera
Are cell phone cameras as good as digital cameras?
I know, I know - I’m always preaching on Instagram that I want to pull my hair out when I see people using cell phone images when it comes to marketing their products. But let’s be real for a second - not everyone can afford a professional camera AND has the time to learn how to use it. If that was the case, my fellow photographers and I may be out of a job! In my professional opinion, I don’t think cell phones have the same capability of capturing beautiful images like professional cameras do.
However, you CAN make cell phone images look great if you follow the 5 steps below.
1) Download the photo app Snapseed. Both Iphone and Android users have access to this amazing app. I’ve used many photo editing apps before, and this one is my absolute favorite. Why? Because you can do almost anything with it. I suggest watching a few tutorials on how to use it first. As with any cell phone photo editing app, don’t over do the contrast and saturation please.
2) Follow the light. Light is the most important factor in photography. Light will help you take sharp and clear images using your cell phone camera. If you are taking a photo of your product inside, place your product on a surface that is located right next a window. Angle yourself so that your body is perpendicular to the window, and take an image of your product from this angle with your cell phone. If you are taking a flat lay image, make sure your surface is also next to a window. Angle your body so that neither you nor your cell phone casts a shadow on your product.
3) Incorporate an “S curve” into your frame. To make the photo of your product more interesting and professional-looking, incorporate an S-curve into the frame. A good example of an S-curve is in the image below. Can you see the shape of an S that is made with the dropper and bottle? Okay - it’s not a perfect “S,” but I think you know what I mean! This gives dimension to the image and allows your eye to focus on the subject - which in this case, is the bottle.
4) Composition is key. Similar to step 3, composition and placement of the product being photographed is really important in ensuring that your eye goes right to the product. Play with your props and product and see what works. In general, follow the one-thirds rule - which basically states that you want to place the main focus of your image within the top 1/3 or bottom 1/3 of the frame rather than just the center.
5) Make sure your product is in focus. Always make sure that your product is the main focus of your image! Many cell phone cameras will automatically adjust focus. If your cell phone camera does not automatically do this, make sure that you manually do it yourself. There’s nothing worse than taking a photo and realizing that your subject is blurry, or the focus is on something else.
Now that you’ve learned that you CAN create a professional product image using your cell phone camera, go and try it! Don’t expect to get it right the first time. Practice makes perfect, and you will get the hang of it once you try a few different scenarios. Get that cell phone camera out and start creating!


